Doing your own manicure at home can be fun and save money. You don’t need to be a professional to get great results. With a little practice, you can give yourself a beautiful manicure that looks like it came from a salon. In this Guide to Manicure at Home, we will walk you through each step, making it easy and enjoyable.
1. Gather Your Supplies for an At-Home Manicure
Essential Tools for Your At-Home Manicure
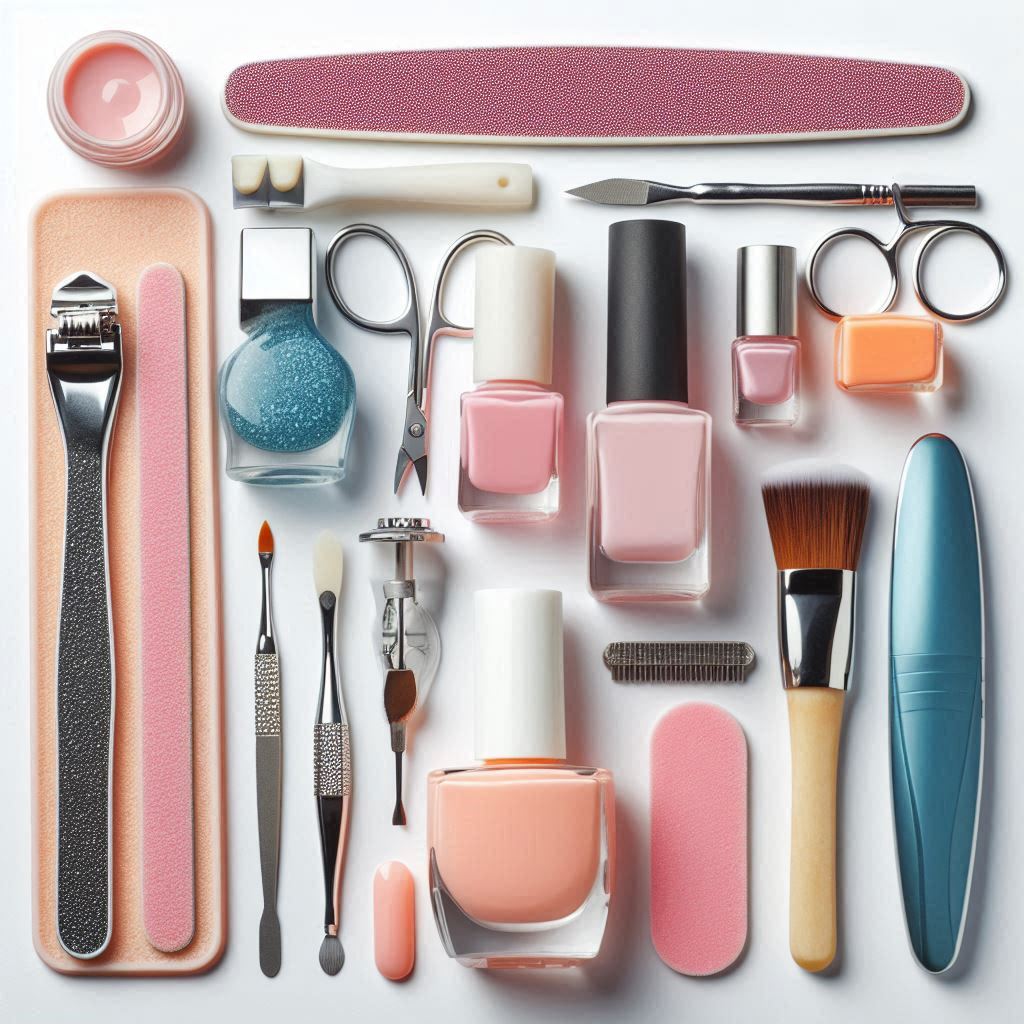
Before you start, make sure you have everything you need. You’ll need nail clippers, a nail file, a buffer, a cuticle pusher, nail polish remover, cotton pads, a base coat, nail polish, a top coat, and cuticle oil. Having all your supplies ready will help you avoid interruptions.
Must-Have Supplies for Perfect DIY Nail Care
Transition: Next, it’s time to prepare your nails properly.
2. Remove Old Nail Polish and Clean Your Nails

How to Remove Old Polish and Prepare Your Nails
First, remove any old nail polish using a gentle nail polish remover. Use a cotton pad to wipe off the polish completely. After that, wash your hands with soap and water. This step ensures that your nails are clean and ready for your new manicure.
Cleaning Your Nails for a Fresh At-Home Manicure
Transition: Now that your nails are clean, let’s move on to trimming and shaping them.
3. Trim and Shape Your Nails
Nail Trimming and Shaping for a Professional Look
Trim your nails with nail clippers to your desired length. Then, use a nail file to shape your nails. File in one direction to avoid splitting. You can shape your nails into squares, ovals, or rounds—whatever you like best. Shaping your nails is an important part of this Guide to Manicure at Home, as it sets the foundation for a polished look.
Perfecting Nail Length and Shape at Home
Transition: Once your nails are shaped, it’s time to care for your cuticles.
4. Soak and Push Back Your Cuticles
Soaking and Managing Cuticles for a Flawless Manicure
Soak your hands in warm, soapy water for about 5 minutes to soften the cuticles. After soaking, gently push back your cuticles using a cuticle pusher. Be careful not to cut your cuticles, as this can lead to infections. Healthy cuticles are important for strong, beautiful nails.
How to Soften and Push Back Cuticles at Home
Transition: With your cuticles in place, the next step is to smooth the nail surface.

5. Buff Your Nails
Buffing Nails for a Smooth Finish
Buffing helps smooth out ridges and gives your nails a nice shine. Use a nail buffer to gently rub the top of your nails. Buffing creates an even surface, which helps the polish go on smoothly. However, don’t over-buff, as it can make your nails thin.
How to Buff Nails for a Sleek and Polished Look
Transition: Now that your nails are prepped, it’s time to apply the base coat.
6. Apply a Base Coat
Importance of Applying a Base Coat for a Long-Lasting Manicure
A base coat protects your nails and helps the polish stick better. Apply a thin layer of base coat and let it dry completely. This step is like laying the groundwork for your polish, just as proper skincare sets up your face for makeup.
How to Apply Base Coat for Best Results
Transition: With the base coat done, you’re ready for the fun part—applying nail polish.
7. Apply Nail Polish
Choosing and Applying Nail Polish for a Beautiful Manicure
Choose your favorite nail polish color and apply it in thin, even coats. It’s better to do two or three thin layers rather than one thick coat, as this prevents smudging and helps the polish dry faster. Let each layer dry before adding the next.
How to Apply Nail Polish Evenly for a Salon-Worthy Look
Transition: Now that the polish is on, it’s time to seal it in.
8. Apply a Top Coat
Using a Top Coat to Seal and Protect Your Manicure
A top coat adds shine and protects your manicure from chipping. Apply a thin layer of top coat over your nail polish, making sure to seal the edges. This helps your manicure last longer and keeps your nails looking fresh and glossy.
How to Apply Top Coat for Added Shine and Durability
Transition: Finally, let’s add the finishing touches to your at-home manicure.
9. Finish with Cuticle Oil and Moisturize
Final Touches: Moisturizing and Hydrating Your Nails
Apply cuticle oil around your nails to keep them hydrated and healthy. Gently massage the oil into your cuticles. Finish by applying a moisturizing hand lotion to keep your hands soft. These final steps complete your Guide to Manicure at Home, ensuring your nails and hands look their best.
Conclusion
Achieving a salon-quality manicure from home is easy and rewarding when you follow the right steps. By gathering your supplies, preparing your nails, and carefully applying polish, you can have beautiful, polished nails anytime you want. Remember, patience and practice are key to perfecting your technique. With this Guide to Manicure at Home, you’ll be on your way to having stunning nails with ease.


Leave a Reply